Expertise
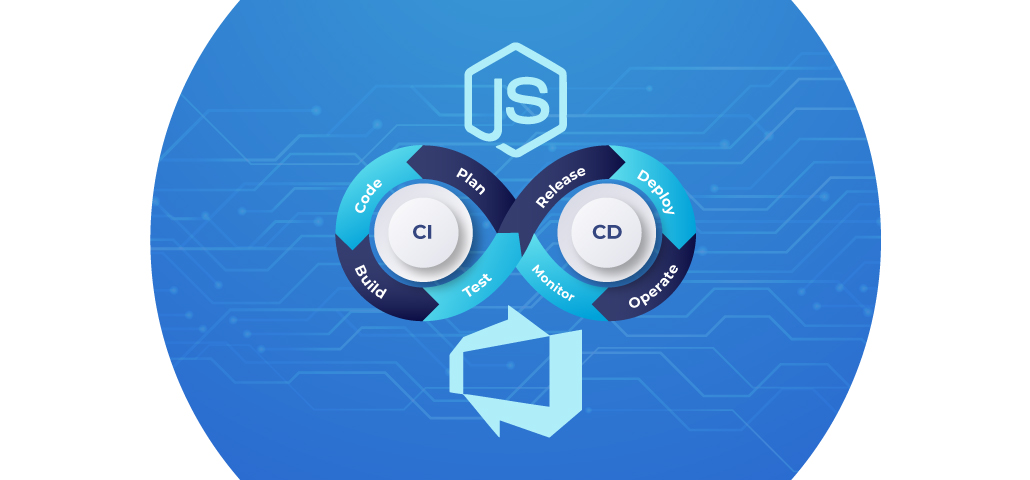
Automating repetitive processes like building, testing, and deploying applications can significantly enhance productivity and reduce human errors. This is where Continuous Integration (CI) and Continuous Delivery (CD) come into play.
For Node.js applications, Azure DevOps provides a powerful platform to automate these processes. It allows developers to focus more on writing code than manually handling deployments.
In this guide, you will learn configuring a CI/CD pipeline for a Node.js application using Azure DevOps. By the end of this guide, you’ll be able to set up a pipeline that automatically builds, tests, and deploys your Node.js application to Azure App Service whenever you make changes to the code.
Prerequisites
Before starting, ensure you have the following:
- Azure DevOps account: If you don't have one, create an account at [Azure DevOps](https://dev.azure.com).
- Azure Subscription: You can sign up for a free Azure account if you don't have one.
- Node.js: Install Node.js from the official [Node.js website](https://nodejs.org).
- Git: Ensure Git is installed and configured.
- Visual Studio Code: Install VS Code, and optionally install the Azure App Service extension.
Step 1: Set Up Your Node.js Project and Initialize Git
First, we’ll create a basic Node.js application using Express.js and initialize a Git repository for version control.
1. Create a New Node.js App
Bash
mkdir node-cicd-app
cd node-cicd-app
npm init -y
npm install express --save
2. Set Up Express
Create an `app.js` file with the following content:
Javascript
const express = require('express');
const app = express();
app.get('/', (req, res) => {
res.send('Hello from CI/CD Pipeline!');
});
app.listen(3000, () => {
console.log('App listening on port 3000');
});
3. Initialize Git
Bash
git init
git add .
git commit -m "Initial commit"
Step 2: Set Up an Azure DevOps Project
Now, let’s configure Azure DevOps to manage the CI/CD pipeline.
1. Create a Project
- Navigate to [Azure DevOps](https://dev.azure.com), create a new organization (if needed), and click New Project.
- Name your project (e.g., `node-cicd-app`) and set it to private.
2. Push Your Code to Azure Repos
- In the Azure DevOps project, go to Repos > Files and copy the Git commands to push your local repository.
- Run the following commands in your project’s folder:
Bash
git remote add origin <Azure Repo URL>
git push -u origin master
Step 3: Create a Build Pipeline (CI)
Next, we’ll create a build pipeline that automatically builds and tests the code every time it’s pushed to the repository.
1. Create a New Pipeline
- Go to Pipelines > New Pipeline
- Choose Azure Repos Git as the source, then select your repository.
- Select Classic Editor to set up the pipeline visually.
2. Configure Build Pipeline
- Select Empty Job.
- Name the pipeline (`Node.js Build Pipeline`) and choose an agent pool based on your environment (e.g., Hosted Ubuntu 18.04 for Linux or Hosted Windows 2019 for Windows).
3. Add Tasks to the Pipeline
- Node.js Tool Installer: Use this task to specify the Node.js version for the pipeline.
- npm Task:
- Command: `install`
- Working directory: `${Build.SourcesDirectory}`
- npm Task:
- Command: `run build` (if you have a build script, otherwise skip).
- npm Task (Optional):
- Command: `run test` (if you have unit tests).
4. Archive the Build Artifacts
- Add an Archive Files task to compress the output folder into a `.zip` file for faster deployment.
- Specify the folder to archive (e.g., `public/`, `dist/`, or the relevant output folder).
5. Publish Build Artifacts
- Add a Publish Build Artifacts task to store the build outputs.
- Artifact name: `drop`
- Path to publish: `${Build.ArtifactStagingDirectory}`
6. Enable Continuous Integration (CI)
- In the pipeline settings, enable Continuous Integration to trigger the pipeline whenever code is pushed to the repository.
7. Save and Run the Pipeline
- Click Save and Queue to run the pipeline.
Step 4: Create a Release Pipeline (CD)
With the build pipeline in place, we’ll now configure a release pipeline to deploy the application to Azure App Service.
1. Create an Azure App Service
- In the [Azure Portal](https://portal.azure.com), create an App Service (select Node.js as the runtime stack).
2. Create a Release Pipeline
- In Azure DevOps, go to Pipelines > Releases and create a new release pipeline.
- Select Empty Job and rename the stage to Dev Deployment (or similar).
- Click Add an Artifact, select the build pipeline, and choose the latest version.
3. Add Deployment Tasks
- In the Tasks tab, add an Azure App Service Deploy task.
- Configure the task:
- Select your Azure subscription.
- Choose the App Service created in Azure.
- Set the package or folder path to `$(System.DefaultWorkingDirectory)/**/*.zip` (the `.zip` file generated in the build pipeline).
4. Enable Continuous Deployment (CD)
- In the Triggers tab, enable Continuous Deployment so that every successful build automatically triggers a deployment to Azure.
5. Run the Release Pipeline:
- Save the release pipeline and create a new release to deploy the application to Azure App Service.
Step 5: Test Your Application
Once the release pipeline has deployed your application, test it by visiting the App Service URL:
https://<your-app-service>azurewebsites.net
You should see the message: "Hello from CI/CD Pipeline!"
Step 6: Zero-Downtime Deployment with Deployment Slots (Optional)
For production environments, it’s recommended to use deployment slots for zero-downtime releases.
1. Create a Deployment Slot
- In the Azure Portal, navigate to your App Service and create a staging slot.
2. Configure Slot Swapping
- In your release pipeline, add a task to deploy to the staging slot.
- After deployment, add a task to swap slots so that the app is deployed to the production slot with no downtime.
Pre-built Node.js Deployment Option for CI/CD Setup
Azure DevOps offers a pre-built Node.js deployment option that automatically configures all the necessary steps for your azure devops pipeline without requiring manual setup. With this feature, you can instantly generate a complete pipeline for your Node.js application, streamlining the deployment process.
Wrapping Up
By following this guide, you’ve set up a complete CI/CD pipeline for your Node.js application using Azure DevOps. This pipeline automates code building, testing, and deployment, ensuring consistent and reliable delivery of your application.
For more advanced workflows, explore multi-stage YAML pipelines and infrastructure as code (IaC) using tools like Terraform or Bicep.


